


Starting a new project, a Hobo Nickel with a shibuichi Japanese-style inlay of a longhorn beetle. I’ve been watching Ford Hallam (https://www.facebook.com/Ford-Hallam-Following-the-Iron-Br…/) make his lovely metal inlays, and have been taking his advice to “steal with my eyes.” I think I’ve broken the code, so I’m trying it with this beetle inlay.
Of course, I might have it all wrong, so you should take this with a grain of salt. Additionally, since the traditional methods I’ve alluded to here are taken from the Japanese method of hammer and chisel, I’ve tailored all the actions to better suit my use of pneumatic hand engraving technology.
Here I’m sawing out and filing a tiny snail from a self-made plate of shibuichi (75% copper and 25% silver), about an eighth of an inch thick (3.2 mm).
Here I’m sawing out and filing a tiny snail (less than half an inch long) from a self-made plate of shibuichi (75% copper and 25% silver), about an eighth of an inch thick (3.2 mm). This will make an almost 3D beetle in very high relief.

Above is a small sample of my favorite Japanese-style raised metal inlays by Ford Hallam, just to illustrate the wide range of exquisite work in this style being done today. More of his work can be seen here: (https://www.facebook.com/Ford-Hallam-Following-the-Iron-Br…/)
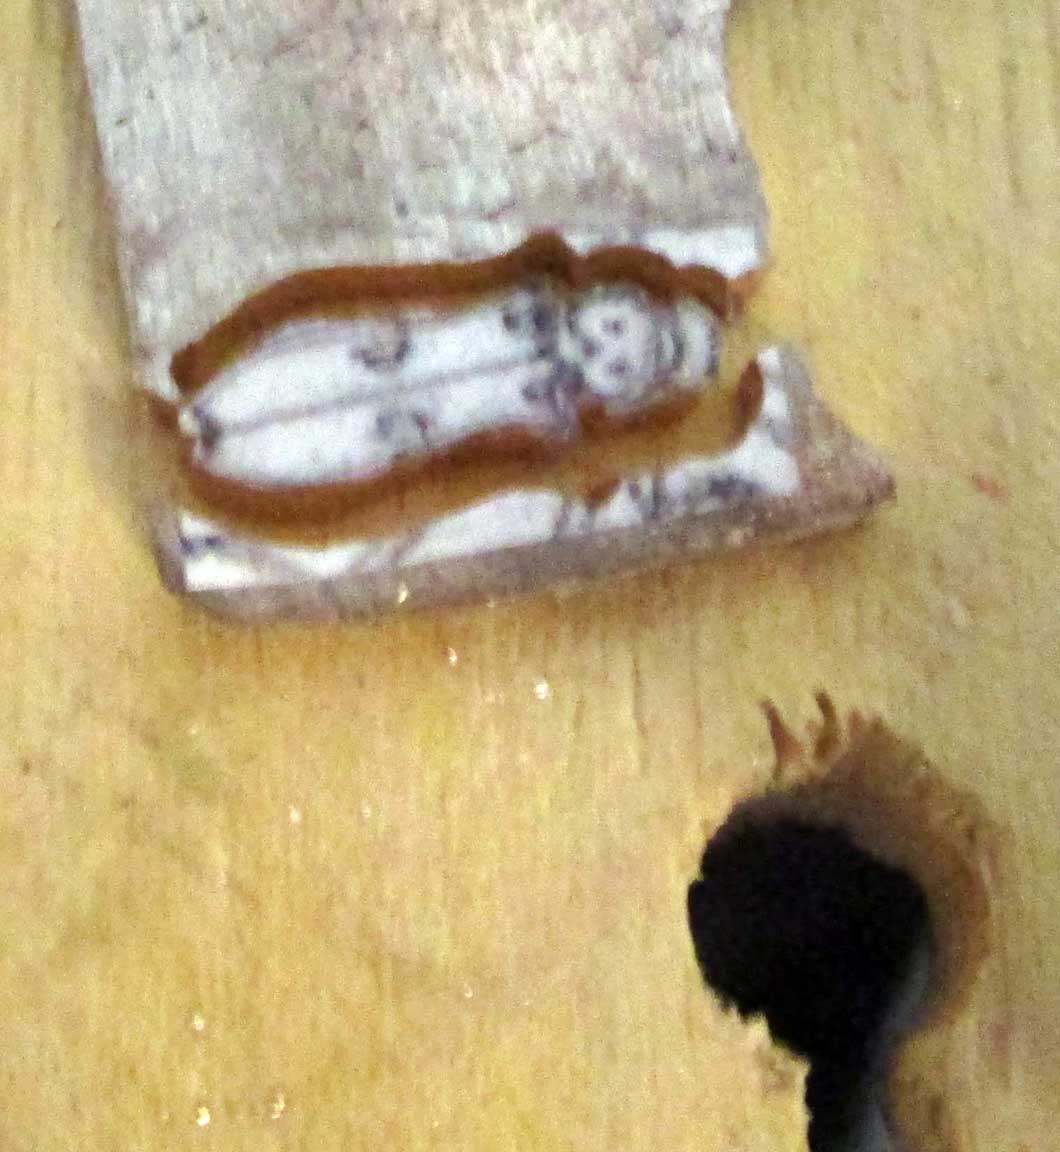
Heres a terrible image of the beetle after sawing it out with a jeweler’s saw and 2/0 blade. Sorry for that… I glue a paper printout onto the sheet and just saw through the paper.

Note the tiny vise I use to hold the beetle for careful filing. It’s a wide nose pin vise. This one is an antique
, but almost identical modern versions are available at http://www.gesswein.com/p-10440-pin-vise-wide-nose.aspx
You can also see the two jeweler’s files I used to trim up my rough sawing technique. I try to file so that the base of my shibuichi inlay is wider than the top surface. That way the inlay will tend to “dovetail” into the inlay pocket when I punch the pocket edges down into contact with the inlay, trapping it in place. This will make a completely secure mechanical connection that is unlikely to ever come apart.

One of the problems I’ve always had with this style of inlay is getting a clear and close outline of the inlay transferred to the substrate because I couldn’t hold the inlay in place and trace around it without moving. Here’s a view of a “complicated contraption” clamp I use to hold an inlay in place on the surface of the “base” metal while I scribe a very close outline.
I find this far quicker and more useful than the methods I’ve attempted in the past, including trying (and failing) to hold the inlay with my finger, and even super-gluing the inlay into place, scribing the outline and then releasing the glue using heat (warping the base metal and making a huge mess to clean up). Incidentally, this little beetle is less than half an inch long (about 12 mm) This clamp is held in place with a single socket cap screw in a threaded hole in the top of the vise, and rotates around that screw as well as allowing the brass nose to extend and contract in length.
As a point of interest, the shibuichi beetle inlay is harder than the cupronickel base metal of the coin, hence the need to use this style of inlay.
I’ll also use this clamp again to hold the inlay in place in the pocket while I punch the sides of the base metal to jam the inlay into place for a permanent installation. The clamp will hold the inlay firmly in place, without allowing any movement, and the small size of clamp contact won’t interfere much with the operation.

Another view of the clamp.

A close-up view of the clamp in action.

Here are some images of the inlay hold-down clamp I took my inspiration from, so here are some images of it. Much more elegant than my cobbled-together solution. Photos courtesy of Mike Dubber and Brian Marshall, the clamps actually designed and manufactured by Ray Letourneau.

The result of the scribing and clamp in action, a clear and close outline, in the proper place.

Here’s the start of the pocket creation for the beetle inlay. I use a narrow flat graver (45 degree face), and simply plunge it into the base metal at about a 45 degree angle. My aim here is to start piling up a blob of base metal, and then using the power of the pneumatic airgraver to push the pile just beyond the edge of the outline. I’ll repeat this all the way around the edges of the outline until I’ve gone completely around. The tighter the curve, the narrower flat graver I use.
I use a Lindsay Classic Palm Control Airgraver with the heavy tungsten piston, 60 psi air and fairly long stroke – I want nice large piles of metal around the edges. I’ll use these piles of base metal to punch down around the edge of the inlay, jamming it permanently in place.
I’m not terribly familiar with GRS or Enset operation, but obviously you’re going to want a high power setting.
A small disclaimer here – I’ve not used this method with steel yet, but I think it will work just fine. I anticipate a few more broken tips, however, as this is likely to be hard on narrow flat gravers…

Above, I’ve gone all the way around. Notice the individual graver marks have left a rough interior – I’ll use an onglette graver to clean up the bottom edges of the cuts.

Here I’m using the standard method of multiple parallel cuts to begin the excavation of the excess material from the inlay pocket.

I’ve used an NSK micromotor and tiny carbide bur to excavate to the bottom of the parallel graver cuts. I’ll repeat the parallel graver cuts and carbide bur excavation to get this pocket deep enough (about 1 mm deep) to hold the inlay securely. I’ll also use the onglette graver to make sure the bottom edges of the inlay pocket are clean and slightly wider than the top opening.
If I’ve done this correctly, the shibuichi inlay will “click” into place and not wobble horizontally.

Here’s the shibuichi inlay almost in place. It doesn’t quite fit in the “right shoulder” notch and point of the shoulder (see the red arrows). I’ll use the flat graver as a bulldozer and push up the edges of the inlay pocket in those areas a little more until I can see a small dark line between the inlay and base metal.

Once the inlay has a good fit, I use a small block of lead and engraver’s hammer to firmly seat the inlay in place (another Ford Hallam trick). The lead won’t mar the inlay and acts to make a solid but controlled dead blow (no bounce).

When everything fits well, I re-install the clamp, adjust it until the position is correct, and then begin punching down the little piles of base metal around the edge of the inlay pocket.

Here’s a closeup of the inlay just sitting in the pocket. Notice the raised edges of the nickel inlay pocket against the pinkish shibuichi inlay. We’re ready to begin punching those raised edges down against the inlay.

Above, I’ve used a tiny punch to push the inlay pocket edges as close to the inlay as possible. I’ve leaned the engraver’s block to and fro to get the angle right for effective punching.
My punches are made from old carbide bur shafts, with the carbide portions snapped off. i grind the face flat, with a very slight radius to the edges of the face to avoid marring the surface. The punch I’ve used here looks to be a little less than a millimeter in diameter.

A closeup of the punched edges. The inlay is now permanently installed – to attempt to remove the inlay at this point would probably require destruction of the nickel base metal, and perhaps the shibuichi inlay as well.

Above is a quick and dirty graphic of the basic process of Japanese-style pocket inlay.

Above is the inlay installed, and the beginning of roughing in the additional details.

Here I’m rounding out the beetle’s body with carbide burs, although flat gravers would work as well.

Above, I’ve used a tiny scraper to refine the shape of the beetle wings (the long part of the body).

The same tool has refined the front body portions as well.

Trimming the body with a Lindsay Universal graver (116 degree V graver) and tiny carbide bur. Then, the body parts were smoothed with a 600 grit pencil stone.

Above, after a little burnishing with 0000 steel wool.

Starting to inlay 24 karat gold in the legs. The largest section of the right hind leg is two 28 gauge wires wide. The middle leg shows the undercut sides, with angled holes made in the bottom of the inlay trough with a simple single pointed tool – I drove them in at about 45 degrees from vertical. Barry Lee Hands explained the hole technique in this thread: http://www.engraverscafe.com/showthread.php?19991-Barry-Lee-Hands-24k-gold-overlay-work-in-progress He calls this style of teeth raising “louver,” or “arch” and it works very well.

A little better view of the “louvers” in the inlay channels.

I doubled the gold wire over for a short distance to fill the widest parts of the legs. A single width of wire worked fine for the slimmer portions of the legs. You can still see the excess length of wire still attached.

Above, all the legs have been inlaid with gold, punched flush, and trimmed. I use a small scraper to scrape the excess gold from the tops of the inlays.

Above you can see the tiny cuts I make in the nickel base metal just outside the gold inlay (see the right rear leg). This step really finishes off the gold inlay and refines the visual appeal. Compare the right rear leg with the right middle leg just above, and see how much more refined the right rear leg appears.


All of the gold inlays outlined with tiny cuts.

Above
, I’ve begun making a raised inlaid ant in 24 karat gold. Here I’ve excavated the tiny ant pockets in the usual manner, undercutting the edges with a tiny flat graver and raising “louvers” in the inlay bottom. Then, I melted tiny balls on the end of my standard 28 gauge gold wire, altering the sizes of the melt balls as needed. Using a flat-faced brass punch, I’ve tacked the balls into place, then begun shaping them into the appropriate ant body parts, making certain to securely punch down the edges into the undercuts.

Above, you can see the rough shapes established with the small brass flat-faced punch.

Here, I’ve used a small shaped female punches to further refine the shape of the three body parts. For more about making punches like my “ant punches,” visit this link: http://sterlingsculptures.com/wp/?p=1417

Above I’ve used a tiny square graver to trim away the excess gold, and further refine the shapes. I’ve also gone over the surface with a tiny flat faced steel punch (made from a tiny worn out carbide bur).

I’ve inlaid the legs, but this time I did not punch the gold flush with surface, but left it fairly thick. I might add these legs are quite tiny and narrow, so 28 gauge gold wire is pretty excessive for the size. That leaves a pretty thick and wide layer of gold above the surface. Using my tiny square graver I trimmed the excess gold away, leaving slightly raised inlays. The ant is 3/16ths of an inch long (4.75 mm).


Here is an overview of where we are now, all the inlays are in and we are ready to do some background removal and texturing, followed by some stippling.

Above, the background has been removed around the beetle to create raised legs, and stippled to darken the shadow areas near the beetle and around the legs.
Also, I’ve stippled around the ant, and carved a hole for the ant.

And with the addition of patina (I use Birchwood Casey Super Blue) and a good inking, the Shibuichi Longhorn Beetle Hobo Nickel is finished!
Thanks for Looking!
Tom Sterling
http://www.facebook.com/TomSterlingHandEngraving#
http://instagram.com/tom_sterling_hand_engraving