
I was approached by a client to turn a replacement bowl for a lovely kagamibuta netsuke that had a cracked original ivory bowl. In my life with netsuke, I’ve found that cracked ivory, especially kagamibuta netsuke bowls, is very common. It’s my view that ALL ivory will eventually crack, sometimes catastrophically. Ivory, being such a dense material, but also quite porous, moves with changes in humidity, and eventually I believe all of it will develop at least small cracks. Now don’t let this turn you off of lovely ivory, because in most cases I’m talking about cracks occurring over many decades, and perhaps centuries.
 Above is a kagamibuta netsuke of mine. This one has a plate or lid of carved porcelain with a celadon glaze, and a deer antler bowl. Kagamibuta means “mirror lid” in Japanese, and commonly the lid or plate was made in metal. You can learn more about netsuke here: http://www.netsuke.org
Kagamibuta netsuke are one of the several common forms of netsuke, and came about mainly because of changes in Japanese laws that prohibited the carrying of swords. Those metal artisans who made all of the astounding samurai sword “furnishings” suddenly needed jobs, and kagamibuta netsuke took up some of that slack.

I had several choices to make this kagamibuta bowl from, and I chose naturally-shed moose antler (most deer shed their antler every year, so no animal needs to be harmed!). Above is a cross sectional view of a nice piece of moose antler, cut through the “palm” of the antler. Like most deer antler, moose antler has harder outer margins surrounding less dense and porous interiors. The main difference between antler from different deer species is how much of the outer part is hard, and how much of the interior is porous and soft, although nutrition of the animal can also play a large part in this.
 Above is a cross section through the “beam” which is the round part near the animal’s head. This part usually has much more dense material, and I’ve chosen a slice of this to turn my kagamibuta bowl from.
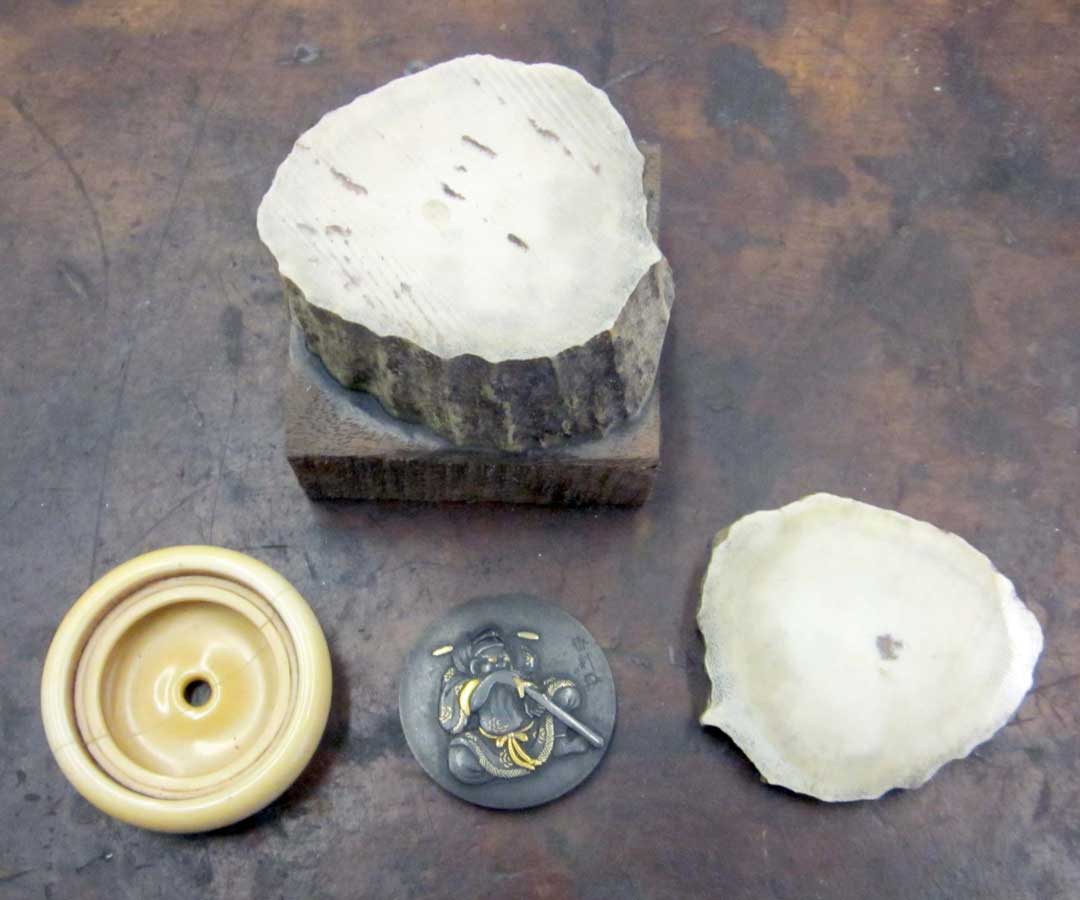
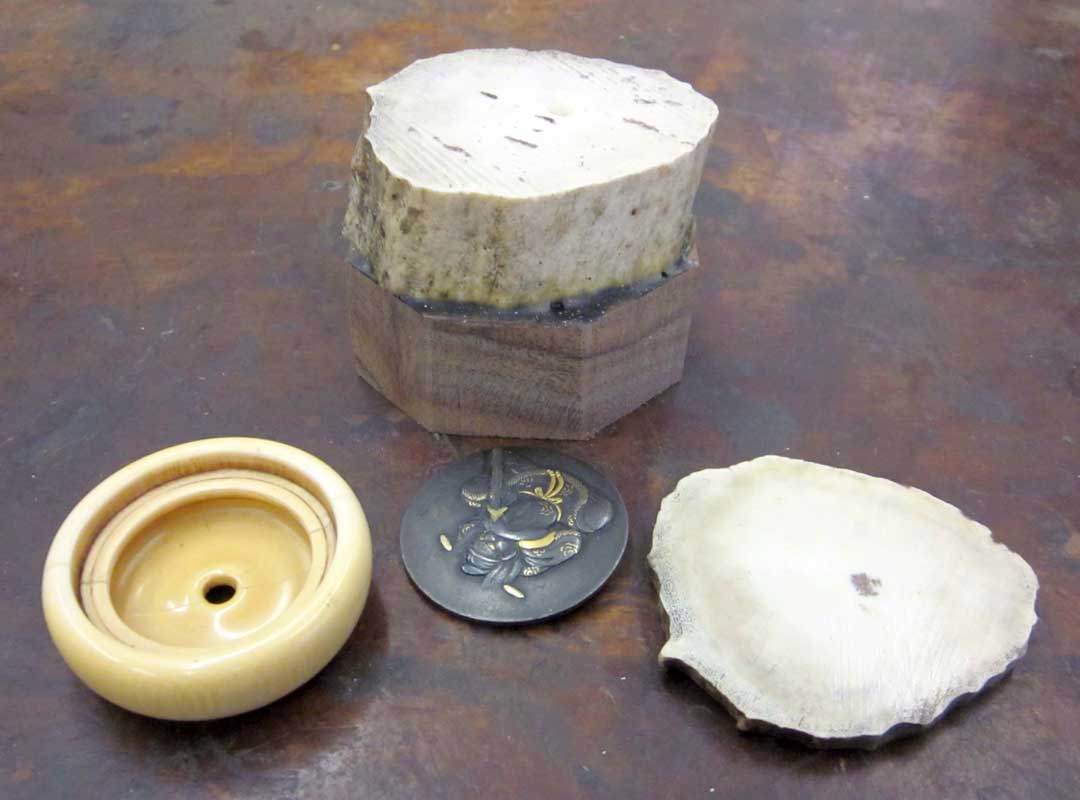
 Above is the slice of moose antler I’ve chosen, and I’ve used common wood glue to glue the slice to a sacrificial piece of hardwood. You can also see the original damaged ivory bowl, the netsuke lid, and another thin slice from the same part of the antler. I’ll use this slice for experimental trials later when I’m ready to begin coloring the bowl. Since antler varies from piece to piece, and from area to area even on the same antler, it’s important to use an experimental piece from near the same location.

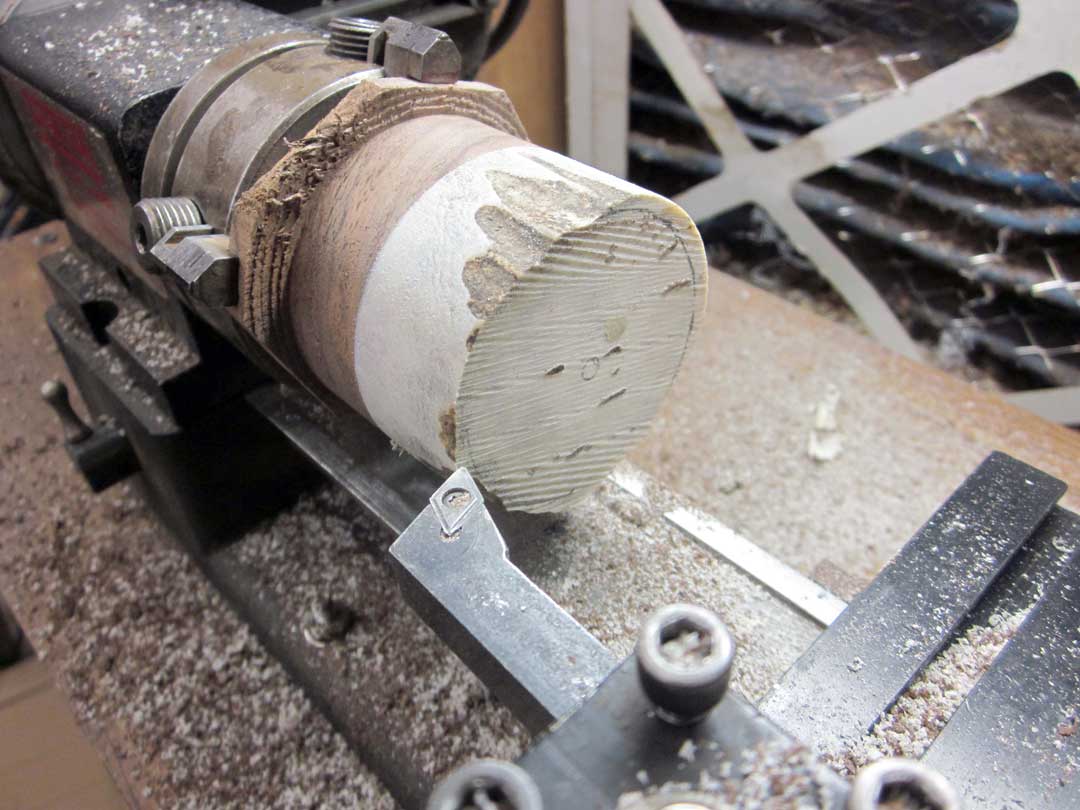
 Above is the antler and sacrificial hardwood block mounted in my little Sherline metal-cutting lathe, ready to begin turning. I’ve used a small four jaw chuck here, and worked diligently to get the center of the antler centered with the lathe axis.
 Here I’ve begun turning the irregular antler into a perfect cylinder. I’m “sneaking” up on the appropriate outside dimension, carefully measuring with calipers several times until I arrive at the 1.75 inch desired diameter. Hopefully, all of the outside “skin” of the antler will be gone by then. I’m a great fan of leaving “natural” parts of the antler skin in place, but since this a replacement part for an ivory bowl, it needs to be smooth and unmarked.
 Here’s the blank cylinder at the final outside dimension. By the way, the part where the lid/plate will go is on the exposed end. I now need to take a “facing” cut across the end to smooth it out and make sure the end is at perfect right angle to the cylinder. I’ve used a “trick” to help with seeing the cutting in this blandly white material by coloring it with a pencil, making certain I cut away all of the black parts.
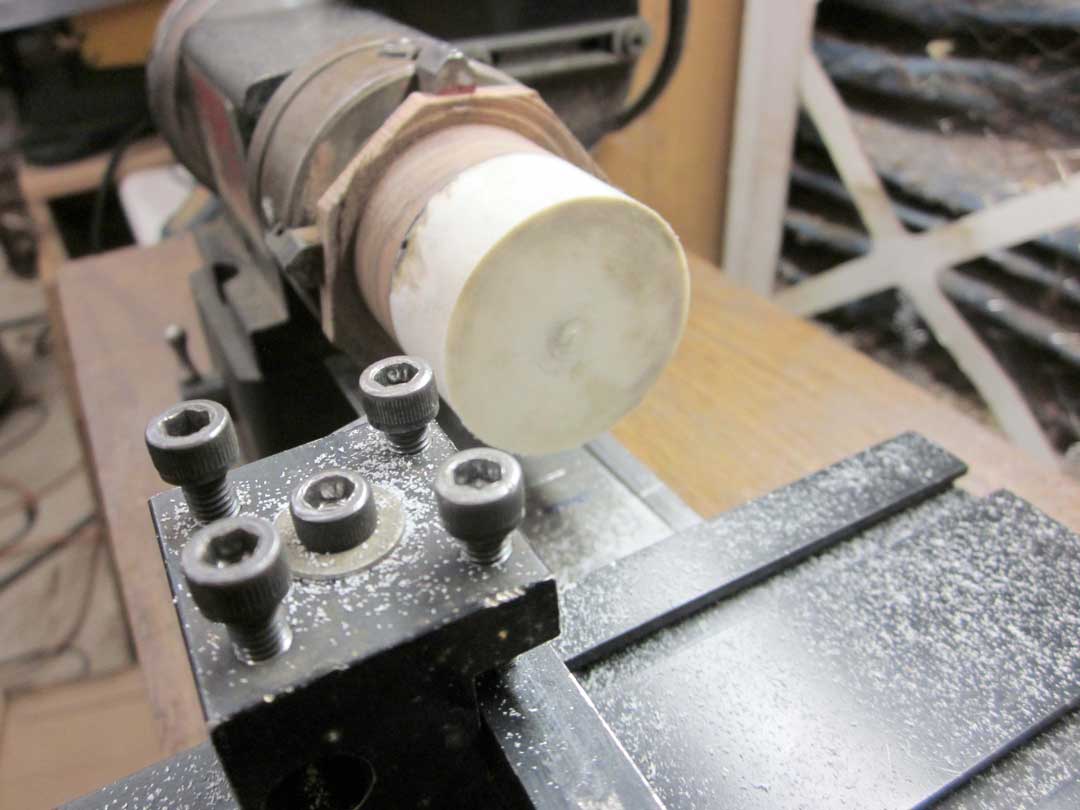
 And, above, is the finished and pretty smooth face of the cylinder. Next, I have to drill an axial hole through the whole thing for the cord hole.