

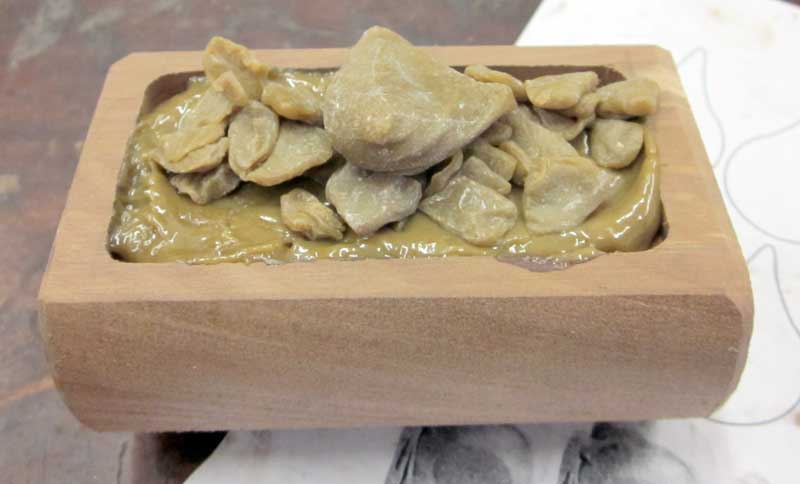
Now it’s time to begin the finishing process. I’m going to be “chasing” the final details here, so will be filling and embedding the copper piece in pitch. But, since I intend to use my Lindsay Airgraver in the chasing process, I’ll need a fixture I can place in my engraver’s vise under the microscope. To facilitate that, I’ve turned a hardwood cylinder (about three inches in diameter) and excavated a pocket for the pitch. You can see some small pieces of pitch in the background. I get my pitch from Northwest Pitchworks.

Above, I’ve begun filling the pocket with pitch. I’ve already melted a layer of pitch in the bottom, and am adding more for the next layer. I’m using a heat gun to melt the pitch, but a soft “bushy” flame from a plumber’s torch would work just fine as well.

Above is my copper piece mounted in the hardwood cylinder, and clamped in my engraver’s vise. The cylinder is important here because it allows the piece to be rotated in the engraver’s vise and held very securely. You can purchase similar inexpensive wood fixtures here.

Here is the hardwood cylinder and copper piece mounted in my engraver’s vise.

Here I’ve penciled in the details I’ll be chasing in.

Above, I’ve begun chasing around the bone eye ring. I’m using a 90 degree “liner” I made, in my Lindsay NitroG20 Airgraver.

Above, you can see the 90 degree “liner” and a magnified view in the inset image. I made this from hardened 1/8 inch diameter piano wire. At this scale, I need the business end to be smooth, but not necessarily polished.

Above, I’ve finished chasing in the bone eye ring edges, and textured the inner area with a simple hardened piano wire punch. Notice I’ve also been further refining the shape of the tip of the beak as well.

Above, I’ve used my NSK micromotor and carbide burs to carve out the center eye circle. You can see the little copper plug I removed lying nearby. I found it was much easier (for me, at least) to carve the skull free from the waste copper than to try and hold it at the many odd angles it would take to cut it free with a jeweler’s saw. But, that might just be a personal problem…

Above is the other side, and I’ve also begun carving away the base of the skull. You can see the two sizes of carbide burs I’ve used. I found the smaller one worked much better in close quarters like the tip of the beak.


Above several images, other views of the same.

Above, I’ve used a small torch to heat the copper and get it to release from the pitch. I don’t want to heat the pitch too deeply here, since I’m going to want to use this same fixture and pitch for the other owl skulls…

Here’s the finished skull after cleaning it up with abrasives and files, along with an unfinished version.

Above, the finished skull after patinating, but before polishing the surface back a little with 0000 steel wool.

Above, a beauty shot of the entire process, start to finish!


And, finally, the finished version.


Here’s the finished pendant.
Thanks for looking!