
OK, now the fun begins. Up until now, it’s just been about creating the canvas for the artwork, but now it’s time to begin adding the barnacles to the knife. Since I’ve never done this, I’m not certain how to go about it, so I tried a small practice study that is something like what I’m shooting for.


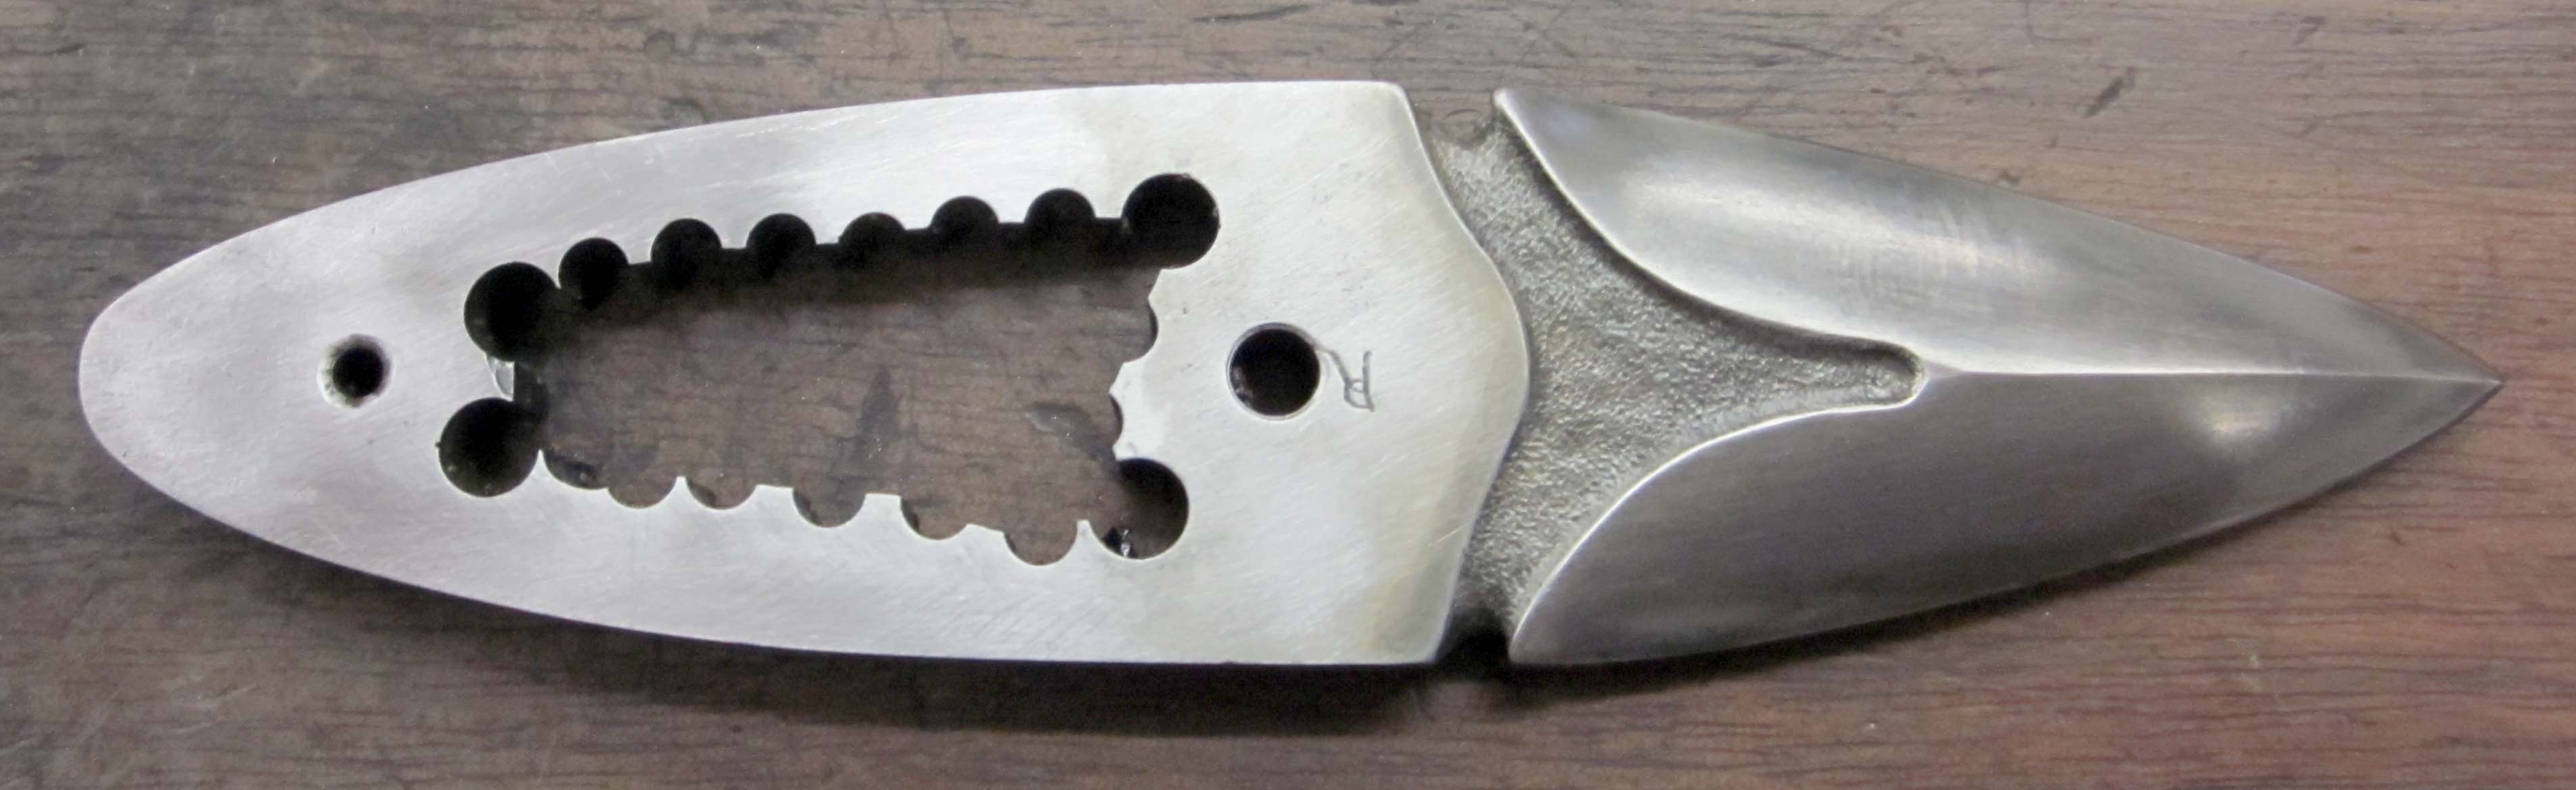
Starting to drill the holes. You can see where I’ve carved a starting dimple to keep the drill bit from wandering aimlessly about. I’ve been using my NSK micromotor grinder and a round carbide burr to carve these shallow starting holes lately, rather than the traditional center punch. I find this method easier, faster, and more accurate. Drill bits are notorious things – they don’t actually make round holes, they drill holes that end up being too big, and they will wander if you let them.
You might have noticed the duct tape over the edges of the blade. They are to protect my hard-won edges from damage (I can be something of a klutz), and also to protect me from the very sharp edges (did I mention I can be something of a klutz?).

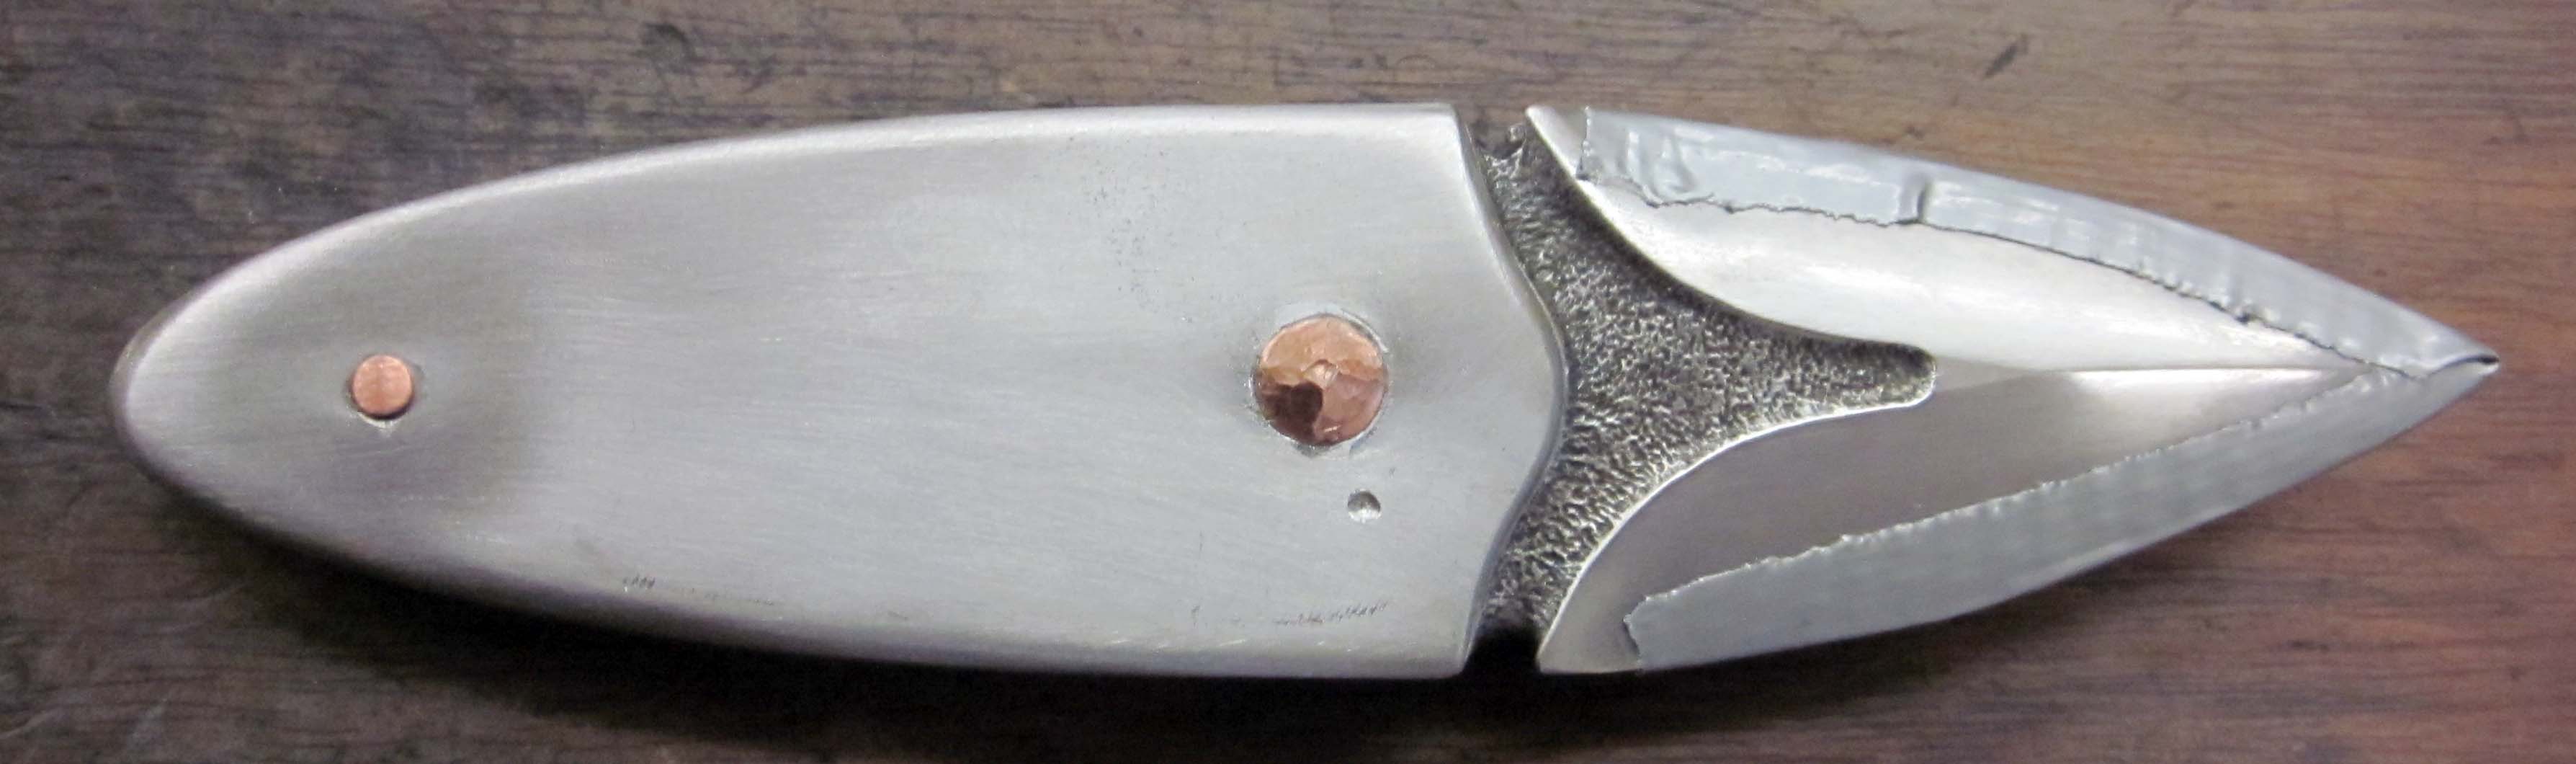
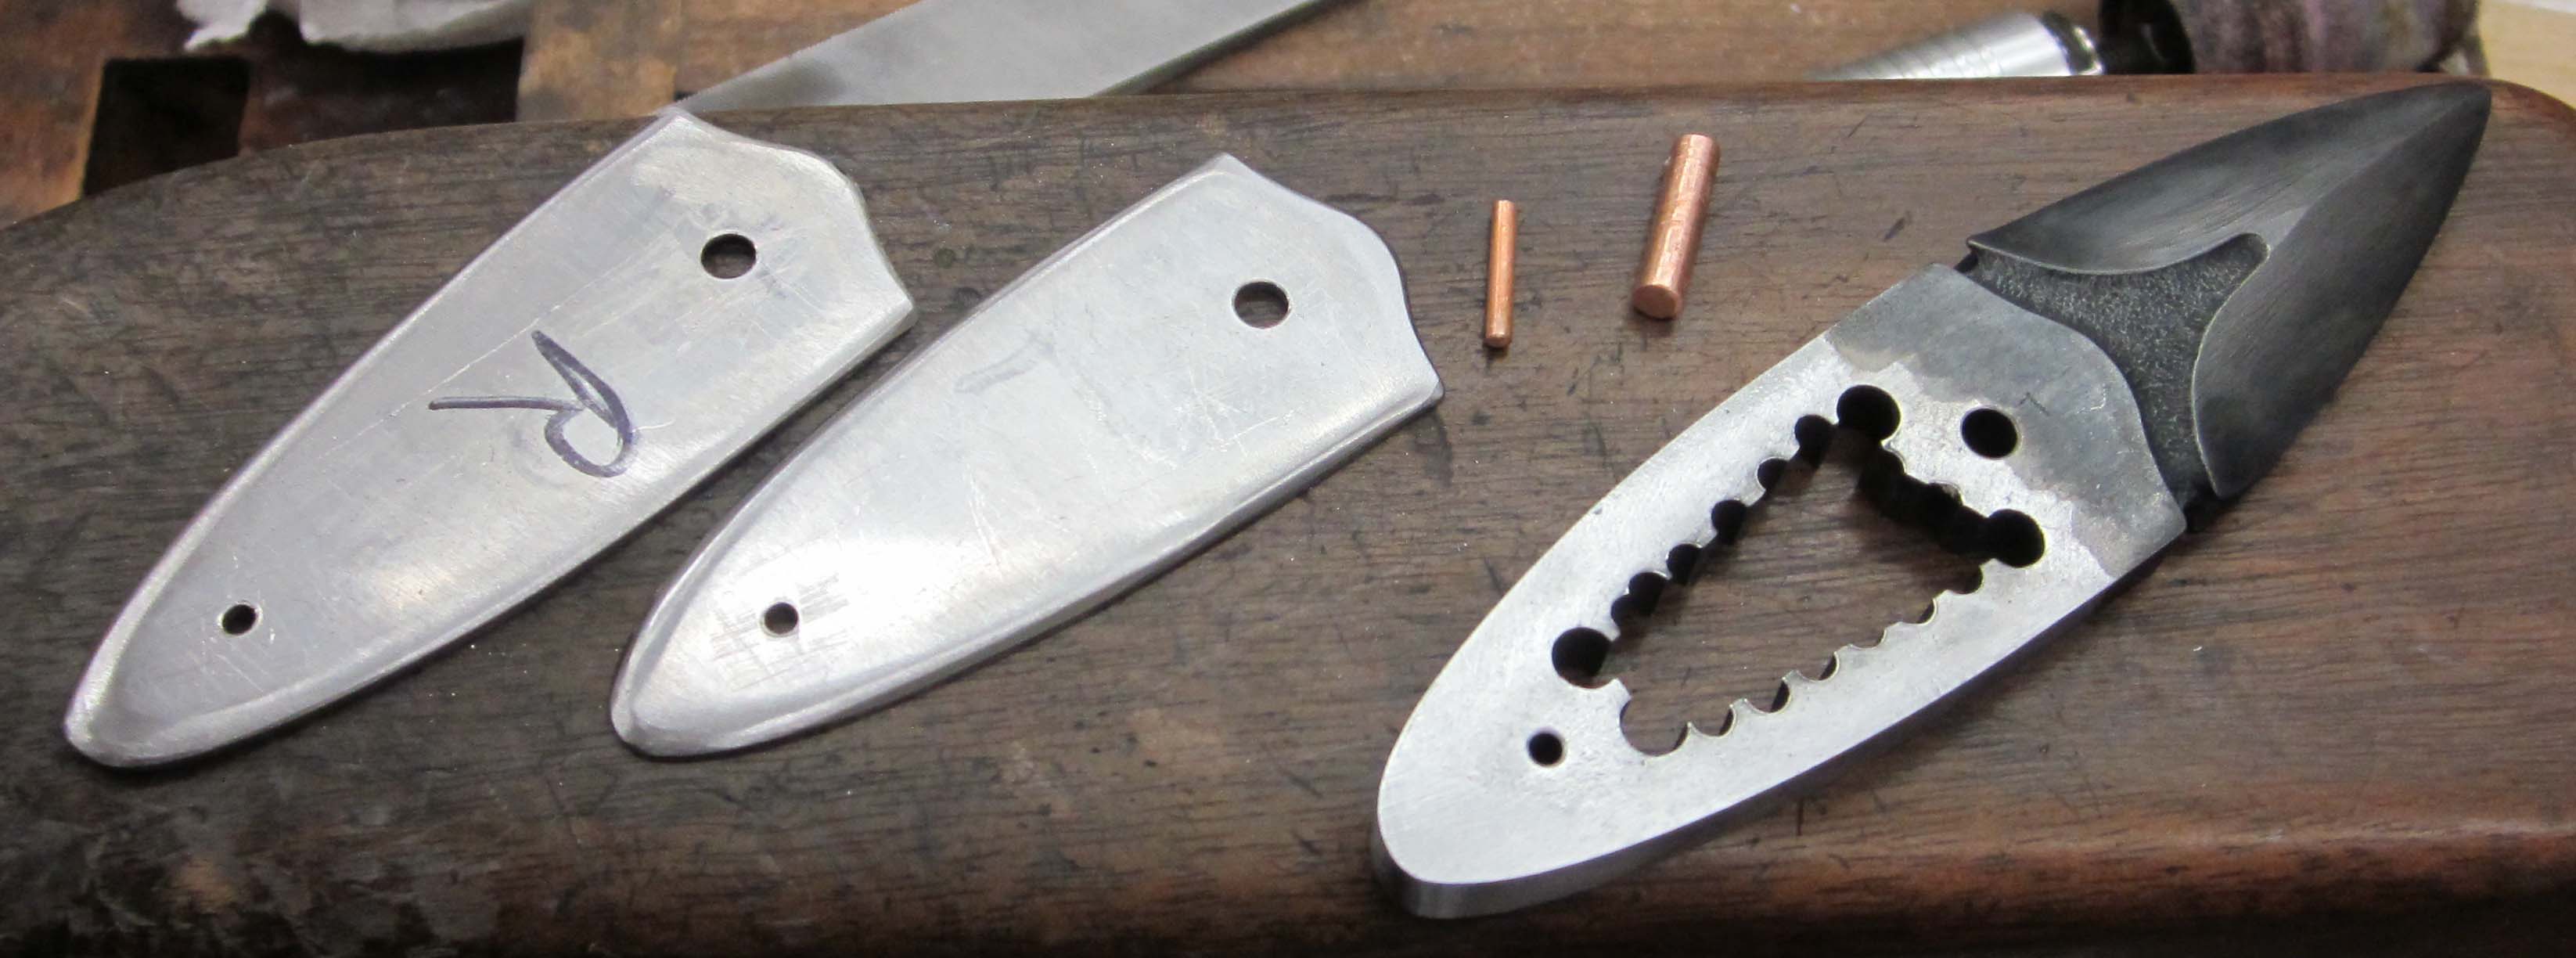
These are copper pins that go all the way through the knife body and handle scales, then get peened over, carved and shaped with punches and carbide rotary burrs. There’s a barnacle on each end of the copper pin; each corresponding side of the knife. You can see some of the progress in the images below:


Above, I’ve finished adding the copper pins that will be the barnacles. I used a small ball peen hammer to get the copper pins peened into place, followed by my little Lindsay Palm Control pneumatic engraver with two blunt punches to forge the flat-topped copper pins into the little cones that will later be carved into barnacles.
 Here are the two punches, one fairly large and one small. The larger punch is made from 1/8 inch diameter piano wire, and the smaller one is re-purposed from a worn out carbide burr. You just keep using them until you beat the copper into submission.

 Above are the barnacles rough carved and hammered into shape.


Here are the barnacles after I smoothed them with Scotchbrite pads, and then inked. One side down, one to go – guess there’s no rest for the wicked…


