

Above, I’ve drilled the proper sized hole through the antler cylinder. The cord that connects to the lid will eventually pass through here. Incidentally, using a metal-cutting lathe for these parts of the bowl-turning process really helps with accuracy and speed. As you might surmise, a lathe that can cut steel cuts through wood or antler like butter.

Now I’m ready to cut the recess in the top of the bowl that the plate will fit in, leaving a little flat shelf so it will lay nicely. I’m using a carbide boring bar to carefully bore this recess, being VERY careful to measure both the proper width as well as the proper depth. It’s easy to cut a little more if necessary, but what you remove can’t be put back. With that in mind, by the way, I cut a little more antler than I really have to have, so I could make a mistake here, cut it away, and start again. I try to live by the principle of “Graceful Degradation.”
Also, I’ve found antler to be very abrasive, so carbide cutting tools are a great help if possible.

Above is the finished recess for the lid.

Now I need to remove as much waste material from inside the bowl as I can. I’ve carefully measured the original ivory bowl, and marked (with a felt tip marker) the depth I need to cut the hollow interior to. I’m being careful to remove as much waste as possible, but leaving enough material for the final turning. Remember that the bottom (and interior) of the bowl is rounded, so take that into consideration!

Above is an end view before interior waste removal.

The same view, with my nice little depth measuring tool. I don’t remember where I picked this up, and there isn’t a brand label on it, but it is VERY useful.

Here is how it all looks with the waste removed.

The original kagamibuta bowl and lid.

The lid test fit into the replacement antler bowl cylinder. Just right!

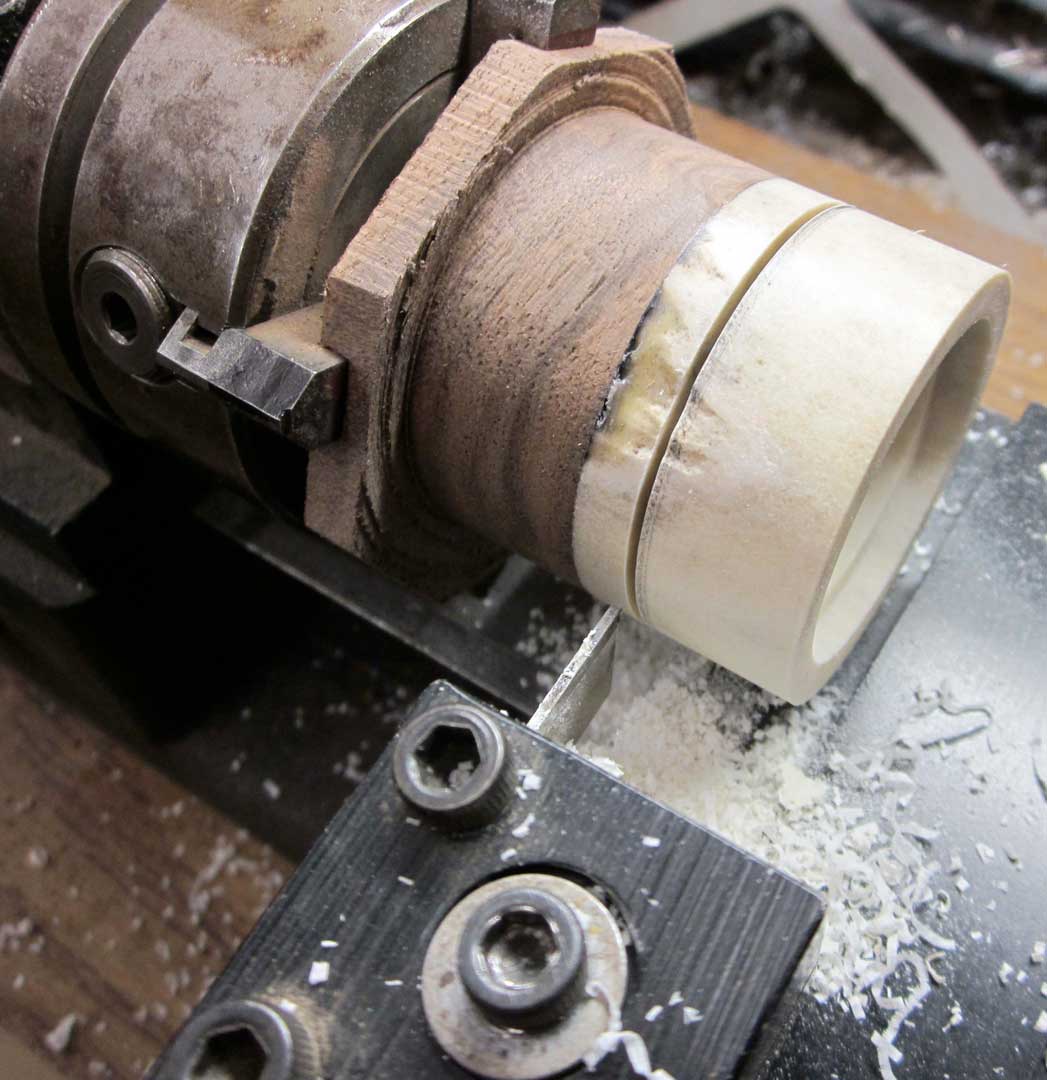
Above, I’ve installed my parting tool onto the lathe cross slide. I’m going to partially cut a groove into the antler cylinder, marking the bottom of the bowl and providing a little free space for my hand turning tools later. I’ve marked the cut with a pencil, using my handy little depth measuring tool.

And an end view of the same.
 Above, the groove cut, leaving about 5/8ths of an inch in the center. Don’t cut too far in and weaken the cylinder or you may get vibration and not get smooth surfaces.