
When last we saw our hero, he was getting ready to begin engraving.

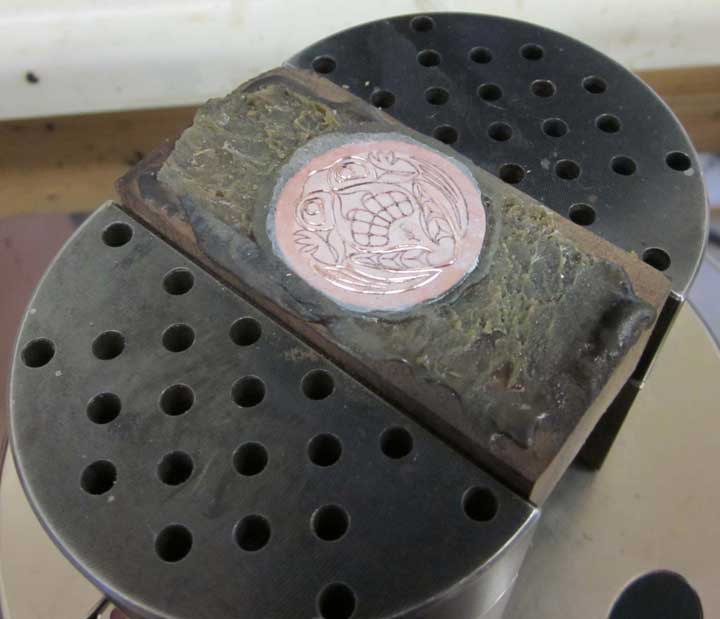
Above, I’ve stuck the copper disk on a small block of walnut with pitch (Northwest Pitchworks, in Bellingham WA). Here, it is clamped in my engraver’s vise. I also transferred my design – in this case, I covered the surface of the copper with Sharpie brand opaque white marker, and transferred my Northwest Native American-style frog design. I printed the design on my HP laser printer (flipped to be a mirror image), placed the paper with the toner face down on the metal, and then placed a paper towel LIGHTLY dampened with lacquer thinner (could also be acetone) on top of the paper pattern. This dissolves the toner, some of which will transfer onto the metal.

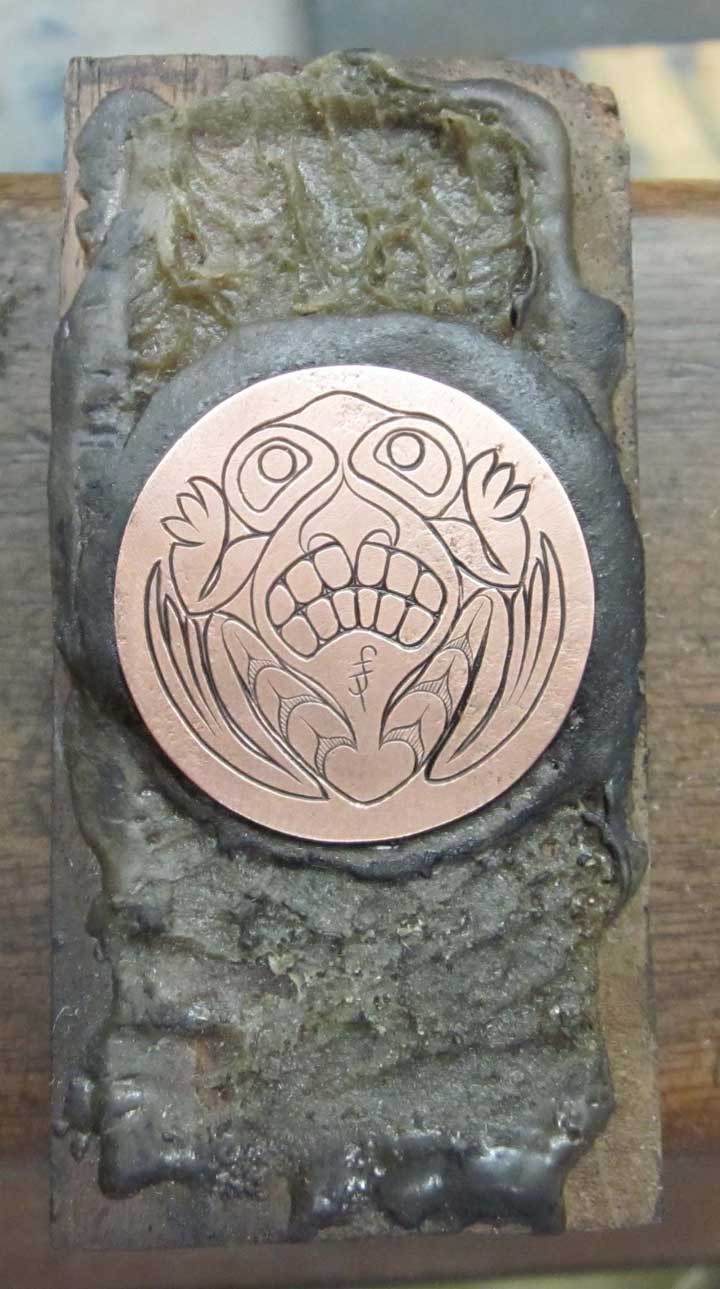
Here you can see some of the lines engraved into the design.

We’ve been snowed in for a couple of days. Snow is something we see pretty seldom here in the Pacific Northwest, and when it happens pretty much everything is paralyzed. This is the view out of my studio as I’m engraving. It’s really pretty, especially since I’m nice and warm and snug…

And here is the disk with all the lines engraved.

And with the lines inked in just to see what it’s going to look like.

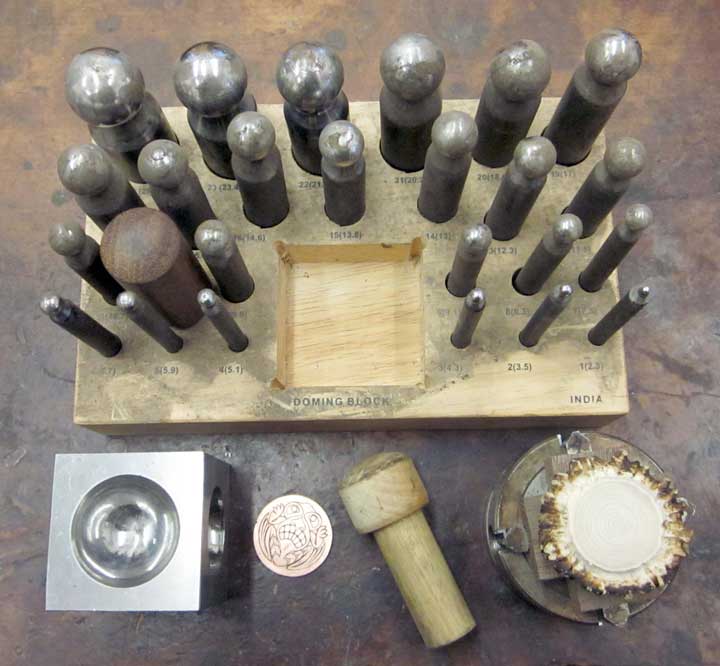
I’m ready to dome the copper, using my dapping block set, above. I’ve engraved the lines on the flat disk before doming because it’s much easier to engrave on a flat surface than a curved one.

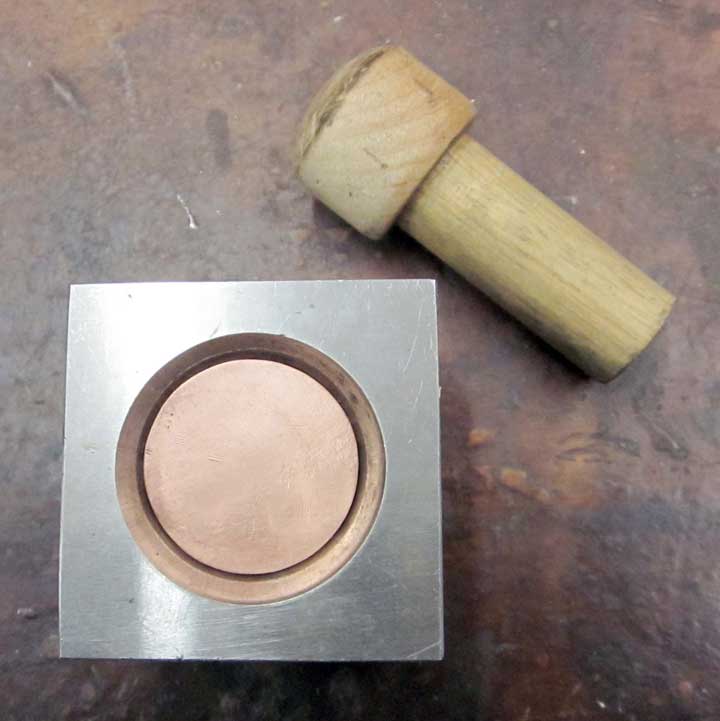
Here is the disk installed in the dappping block. Don’t forget to put the design side DOWN. Don’t ask me how I know this… Since my dapping block is an inexpensive Harbor Freight set and doesn’t have the largest sized of dapping punches, I made one out of hardwood.

And here is the frog all domed up. I punched it several times, starting in the largest hole, and then working my way down to the size I wanted to finish up with.

Here’s the dome on the antler crown – I guessed the size just right. Now I have to return the antler crown to the lathe, and bore a pocket to set the base of the dome into. I also sanded the base of the dome flush and flat with a disk sanding plate.

Here’s the pocket bored into the antler, and a hollow carved beneath to remove some of the weight from the button. Now to epoxy the dome into place.

Here’s my gluing setup. The thing you see sitting on top of the dome is a little jeweler’s soldering trick. It’s just a block of wood, with a thick bent copper wire with tapered tip. By placing a small block of lead on top of this contraption, you can place a weight to hold down a piece of metal to be soldered onto another. This keeps the soldering area clear for heating with a torch but holds everything in place. Works pretty well for gluing as well. I’m finished until this is cured tomorrow.